
Mixing Colors
Confession time. Even though I have been painting models for a long time, I still have a very hard time mixing really nice horsey colors. It was easier when I was painting in acrylics by hand; you pretty much ended up with what the paint mixed up to be. But airbrushing colors is a whole different enchilada. And I still struggle to this day to mix and paint realistic horsey colors.
Mixing up a good horsey color is still pretty much a hit-or-miss process for me. I'm not very good with color theory, so I've come up with my own "system", if you can call it that.
I do have Carol Williams' book, "Color Formulas & Techniques for the Model Horse Artist", and have used some of the formulas as starting points or to give me ideas which basic colors to use. But I mostly use my own haphazard way to concoct colors. If you have a better way or would like to share your favorite mixes, please do so! I am always willing to try new things and share information.
What I do is this.......
On 3x5 cards, I mark off 10 sections. In each section, I paint a square of paint and label it. I try to group colors together - yellows together, browns together, reds together, etc. Acrylic paints tend to dry a bit darker than what they look like when wet.
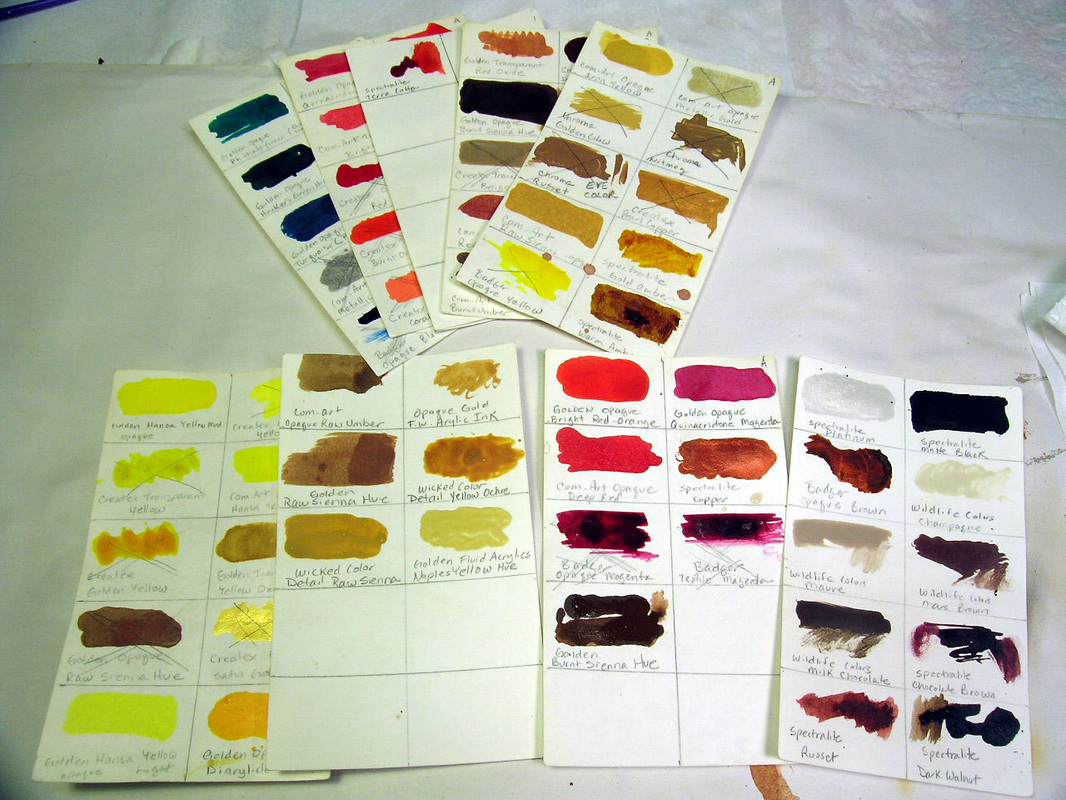
For some of the darker colors, I'll smear out a wash of the color so I can see what it looks like in a watered down, transparent state. You can see that on the card on the bottom right.
You would be surprised at how different the same color can be between different brands of paint. That is why I have burnt sienna and raw sienna (and other common "horsey" colors) from several different airbrush paint makers. The bottles might all say burnt sienna, but once dried on the cards, the colors can be vastly different.
When I decide on what color to paint a model, I find several photos to use as references. Matching a particular color is nigh unto impossible for me, so I shoot for something in the range of my reference photos. I have done ONE custom portrait model - never again. Too stressful!
Once I have my reference photos, I'll bring out my color cards. Using the color cards, I'll pick a basic color that is the closest to the color I am shooting for. If I am not sure, I'll check Carol Williams' formula cards to get an idea where to start. I'll take the color cards and place them by the reference picture to help me decide which color is best to start with.
Then, I'll continue to use my color cards to figure out which color(s) I should add to modify my base color to better match my reference photo. Again, I will refer to the formula cards to help me decide/choose.
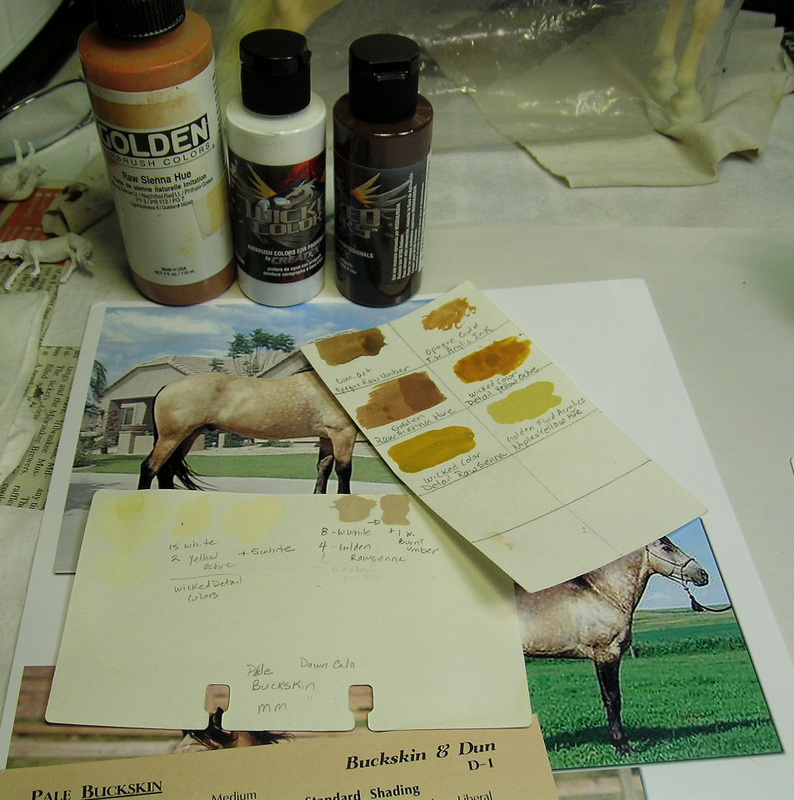
In this case, I want to paint a pale buckskin. I have determined that my base color will be mostly white with some yellow ochre. The body color will be mostly white with raw sienna and possibly some burnt umber to warm it up a bit.
I do try to keep track of what I am doing. So, as I mix, I dab a bit of paint on a card (in this case, an old Rolodex card but I've also used 3x5 cards), write down the mix and let it dry and check it against the reference photo(s). If I need to modify, I continue the process...add this or that, dab a bit on the card, write down what I did and let it dry.
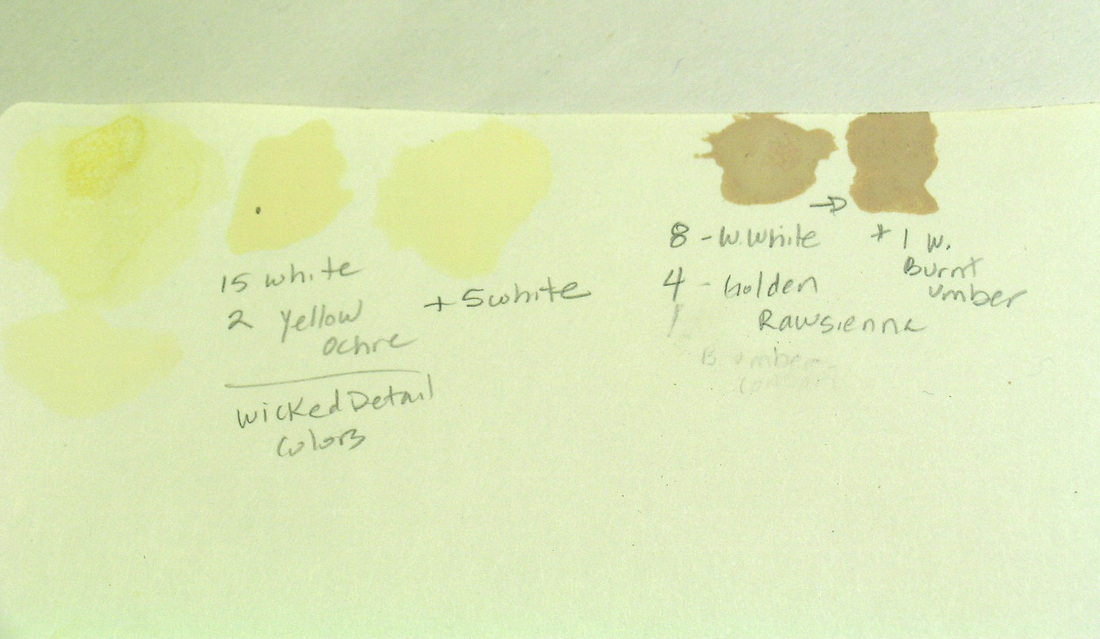
For the base color, I started out with 15 drops of Createx Wicked Detail Colors white and added 2 drops of Createx Wicked Detail yellow ochre. Notice that I also include the brand of paint. I thought the mix was too yellow/dark, so I added 5 more drops of white.
Then I proceeded to mix the body color. As you can see, I started with 8 drops of Createx Wicked Detail white and 4 drops of Golden raw sienna. I thought it was a bit too yellow, so I added 1 drop of Createx Wicked Detail burnt umber.
Because my airbrush paints are liquid, I use drops as my unit of measurement. Since I was mixing paint for a Micro Mini, I started out with a small amount of drops. When mixing colors for larger models, I still start out like this, with small amounts of color. Then when I feel I have the color I want, I can just make the batch larger proportionally.
The transparency of airbrush paints can make it tricky to predict what a color mix sprayed over another will look like. That is one thing I find frustrating, yet fascinating, about airbrushing. Just because I have managed to mix colors close to what I see in the photos doesn't mean that is how they will look on the model. I will often find that a color that looked perfect on the white card changes a lot when sprayed onto a gold base color. What looked like a perfect bay body color on the card goes on the model looking decidedly too pink or too red. That's when I will shake up my bottles of burnt umber or green. Yes, green! When you add green to red, what do you get? Brown. So, to tone down a color that is going on too red, I'll often "brown it down" a bit by adding tiny amounts of green.
(Tamiya Acrylics go on very opaque compared to airbrush acrylics, so the "watercolor effect" is less pronounced. The color mixed will pretty much be the color you get when airbrushed onto the model, as the pigments will more effectively cover the layer underneath. There will be some transparency, but not to the extent of most airbrush and other acrylics thinned for airbrush use.)

This is the model (Maggie Bennett's Galloping Draft Micro Mini) that I was mixing up light buckskin colors for. Once I got the basic body colors done, I felt that the pale buckskin was just too boring (even with dapples) so I thought I would jazz it up a bit with some darker areas (legs, topline, cheek/neck). The darker body areas are layers of very thin Createx Wicked Burnt Umber - no other colors added to modify it.
NOTE: While it is apparent that I sometimes mix different brands of airbrush paint together, I generally try to avoid it. I have been successful combining Golden colors (Airbrush, High Flow, Fluid Acrylics) with Com-Art colors and maybe a bit of Badger tossed in, but I really do try to make my color mixes using only one brand. You can layer different brands (and I highly recommend spraying a sealer coat between each layer) over one another, but if you can avoid combining brands, that would be the safest bet.
DO NOT MIX Tamiya paints with anything other than Tamiya. I don't know if you can mix them with other resin-based acrylics, such as Vallejo, but I feel it is safer just to make your Tamiya color mixes using ONLY Tamiya paints.
DO NOT MIX Tamiya paints with anything other than Tamiya. I don't know if you can mix them with other resin-based acrylics, such as Vallejo, but I feel it is safer just to make your Tamiya color mixes using ONLY Tamiya paints.
